DIY Budget Flashlight Diffuser
Are you considering to get strobes or video light for underwater photography? But still not ready to take underwater photography to another level because of expensive cost of the lighting system.
There is a budget way to get you started if you already own a flashlight. If you use a flashlight for photography, you would notice that your photos would end up with hot spots at some area. If you add a diffuser on top of the flashlight, the light would be shined evenly on the object, of course it also depend on the angle as well.
There are flashlight diffusers selling in the market which do not cost much, but there is not much option and the sizes are quite limited, it may not fit your flashlight. If it happen to be like that or if you want to build it by yourself anyway in a budget way. Here we go! This is a guide for how to build your own flashlight diffuser.
For your information, I built mine with around 20USD / 18EUR (depend on where do you locate), costs for the material can create multiple of them.
Before we get started, you should bear in mind that your light strength would be much lower with a diffuser. The effect of using a diffuser would depend on how much lumen your flashlight have to begin with.
From a user experience with flashlights with 1000 and 1200 lumen, it would only be good for marco photography, but I would say using flashlight with diffuser made quite a difference on my marco pictures (I used TG-4). With a 4000 lumen canister dive light, marco pictures came out really really good.
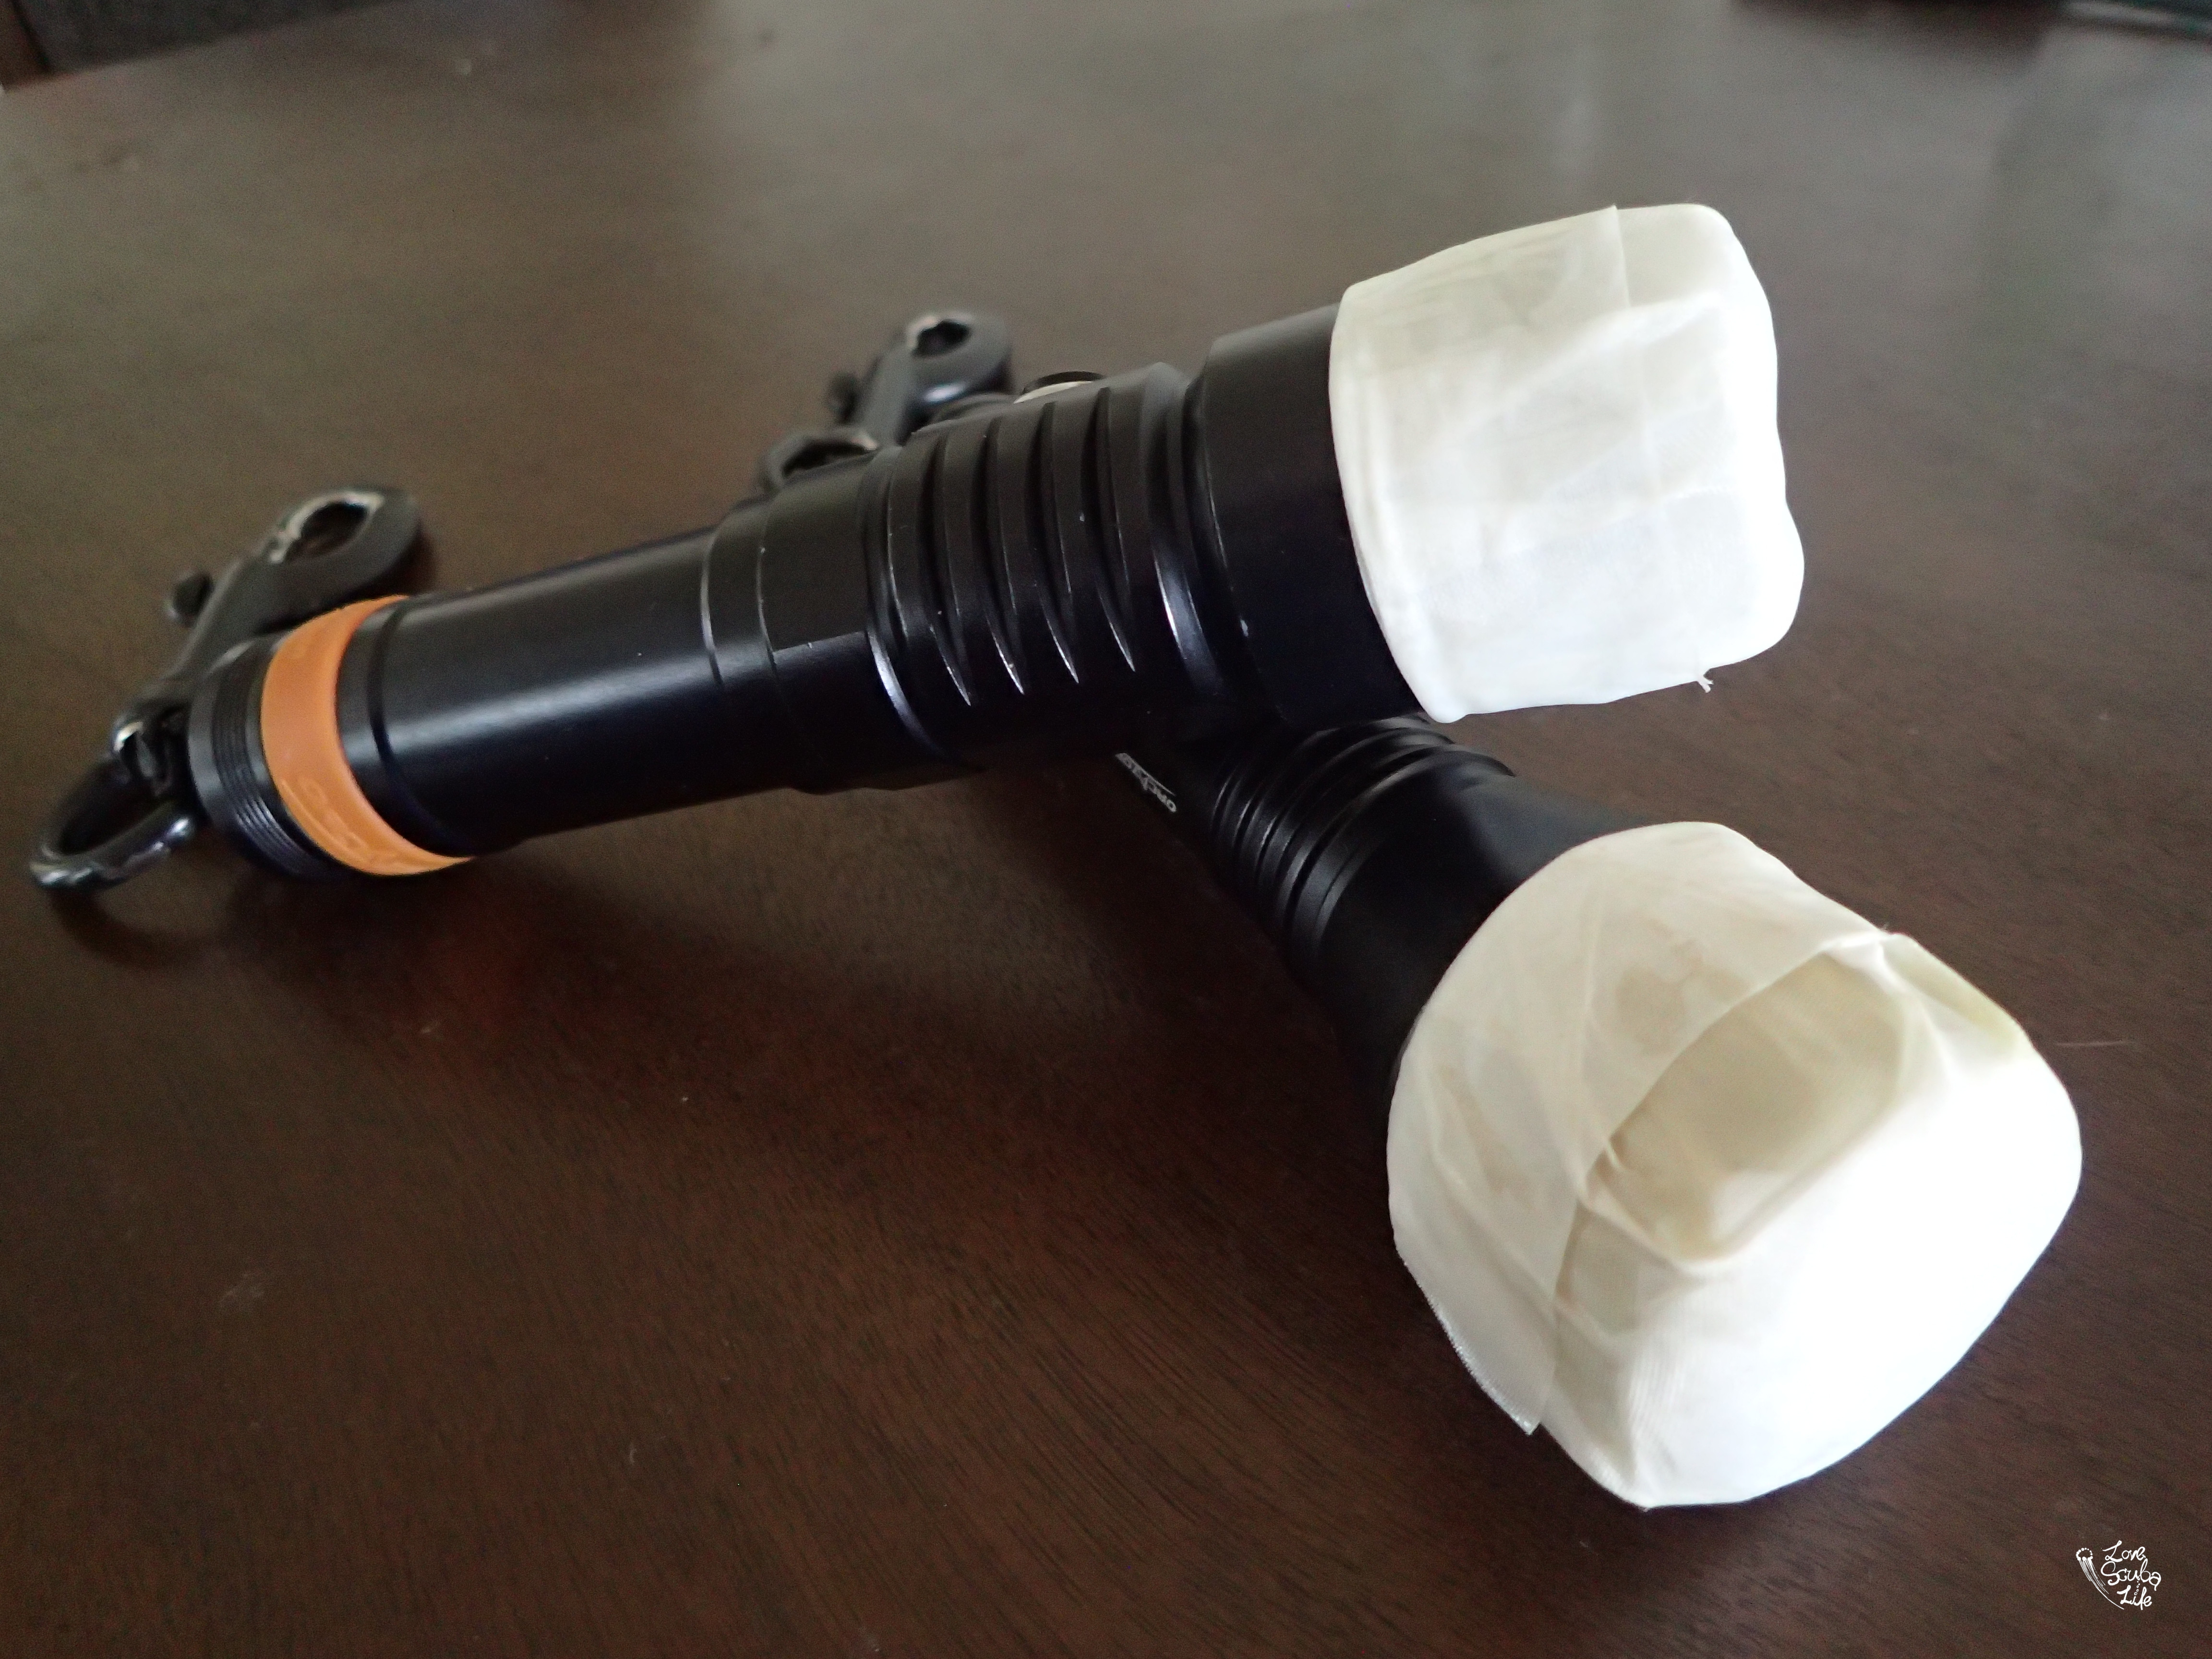
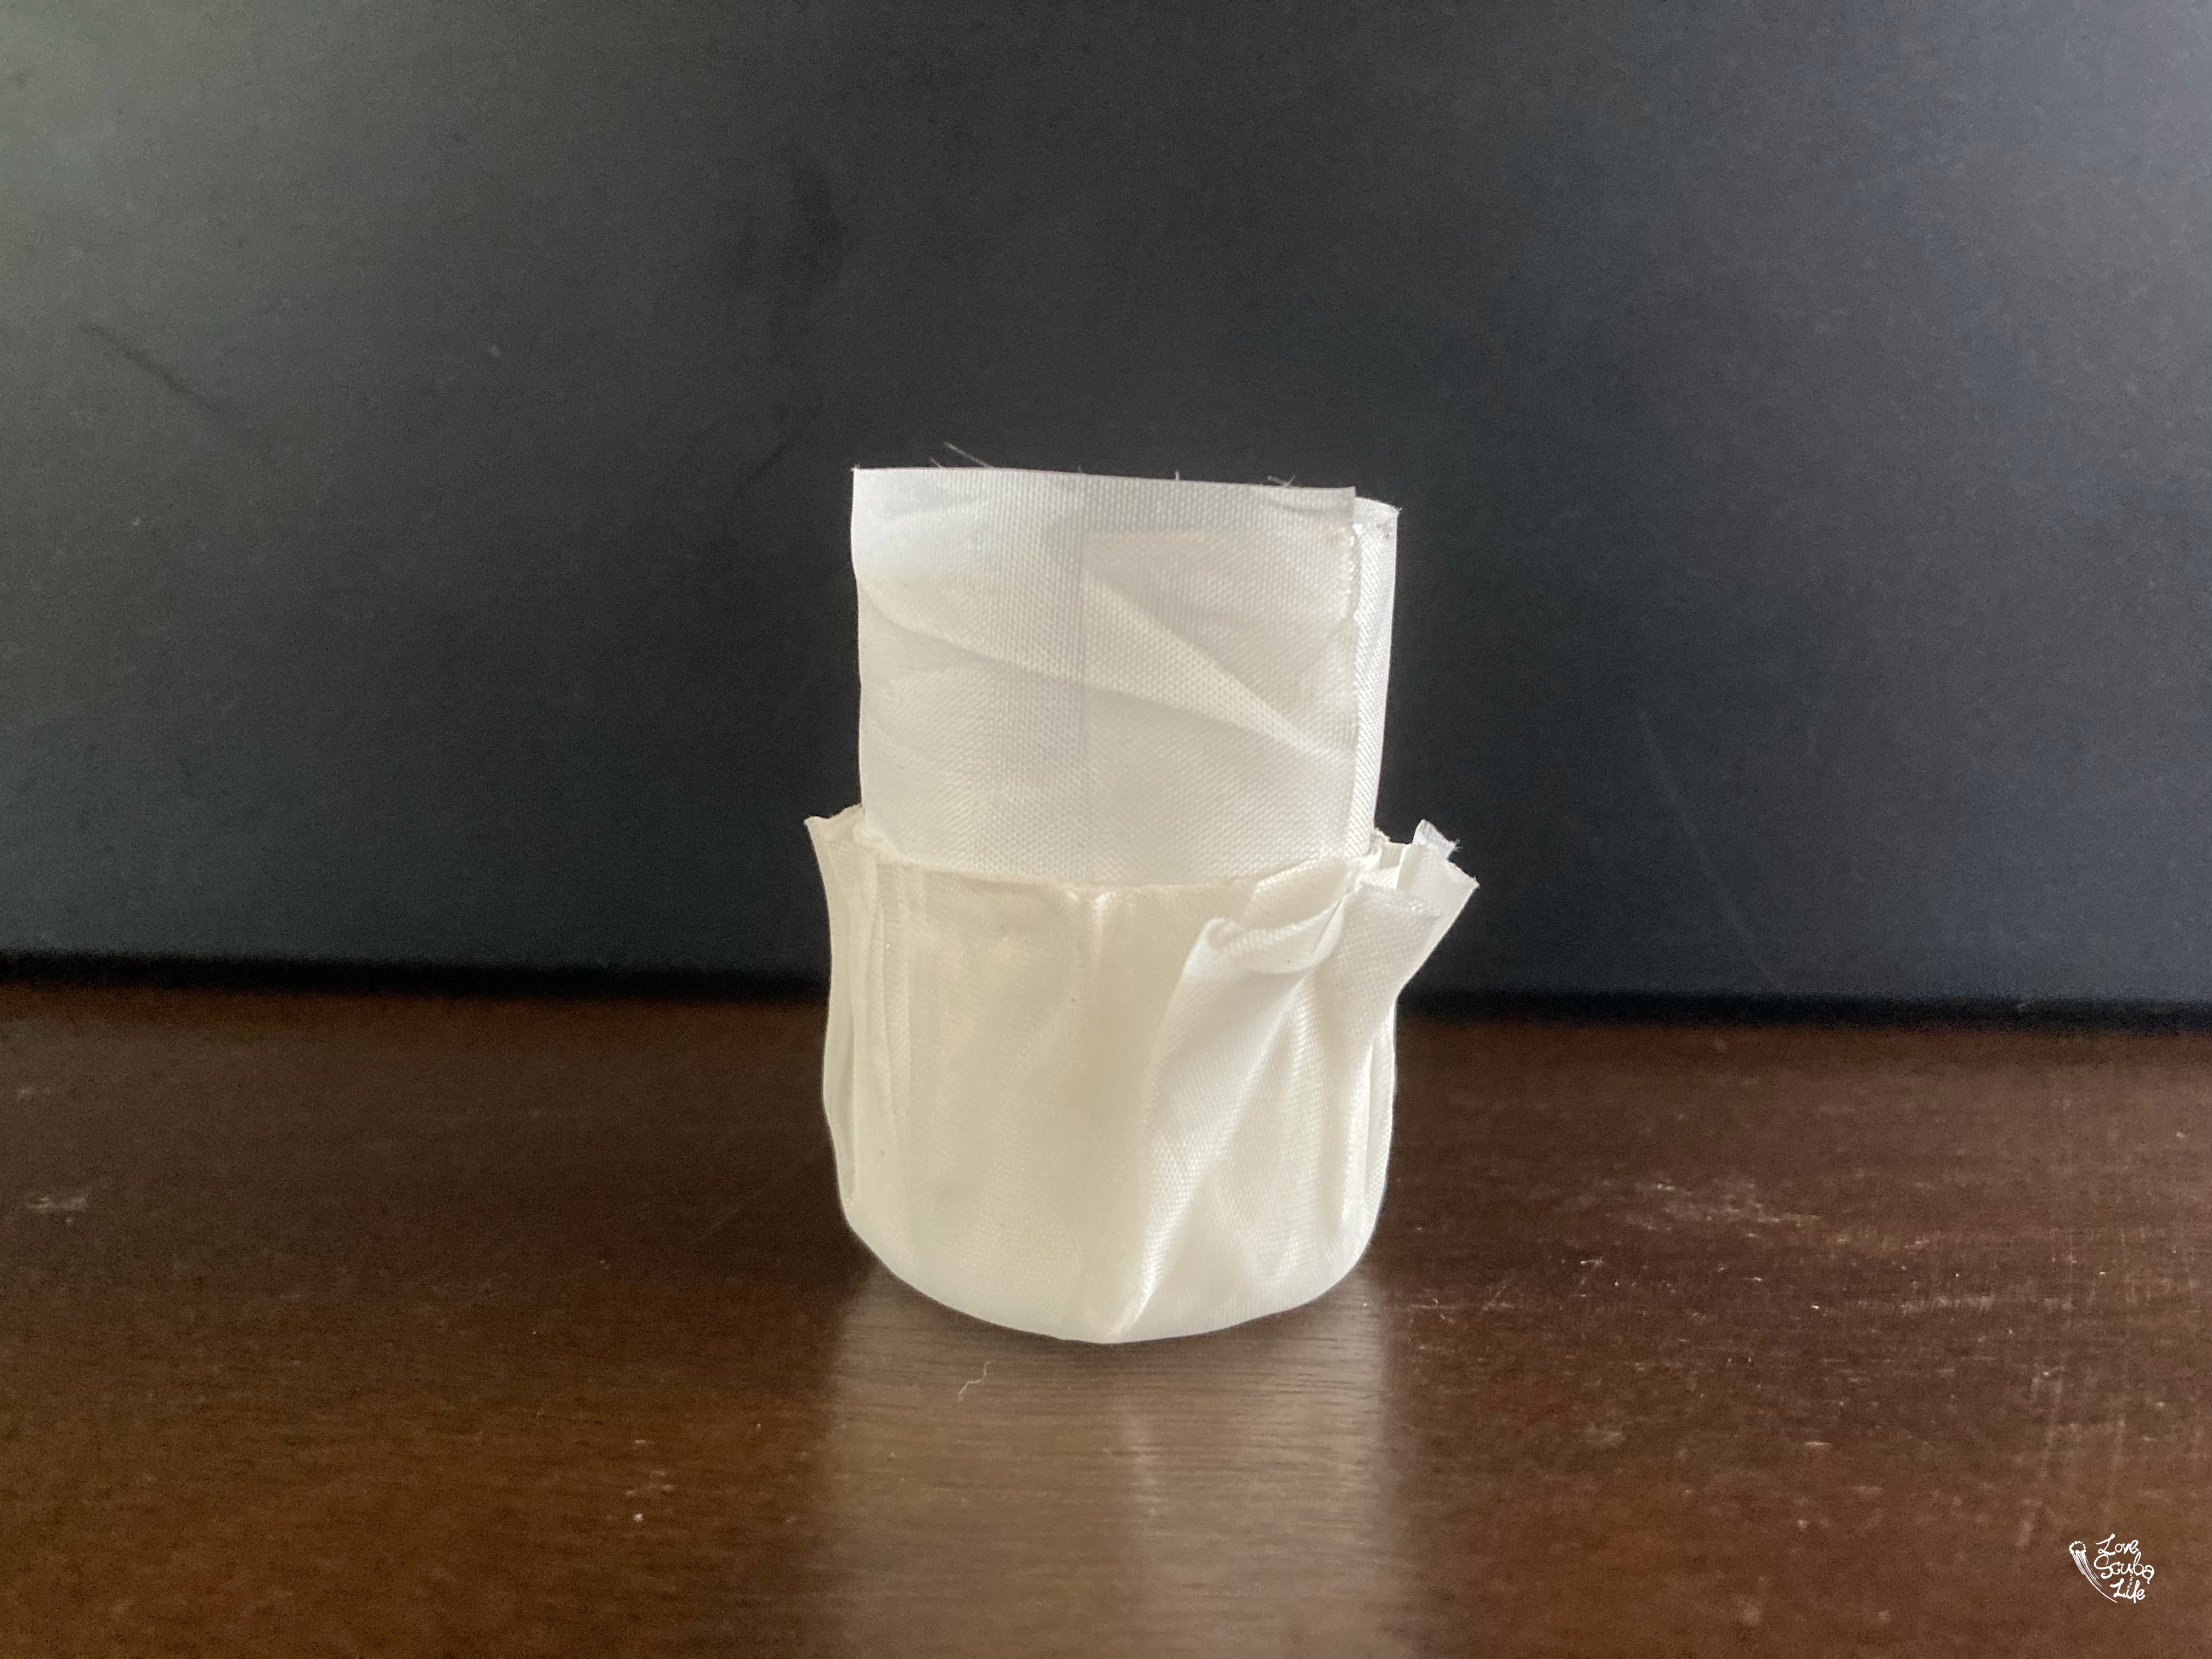
The final products would look like this. The diffuser texture would be a bit soft, would not be completely hard.
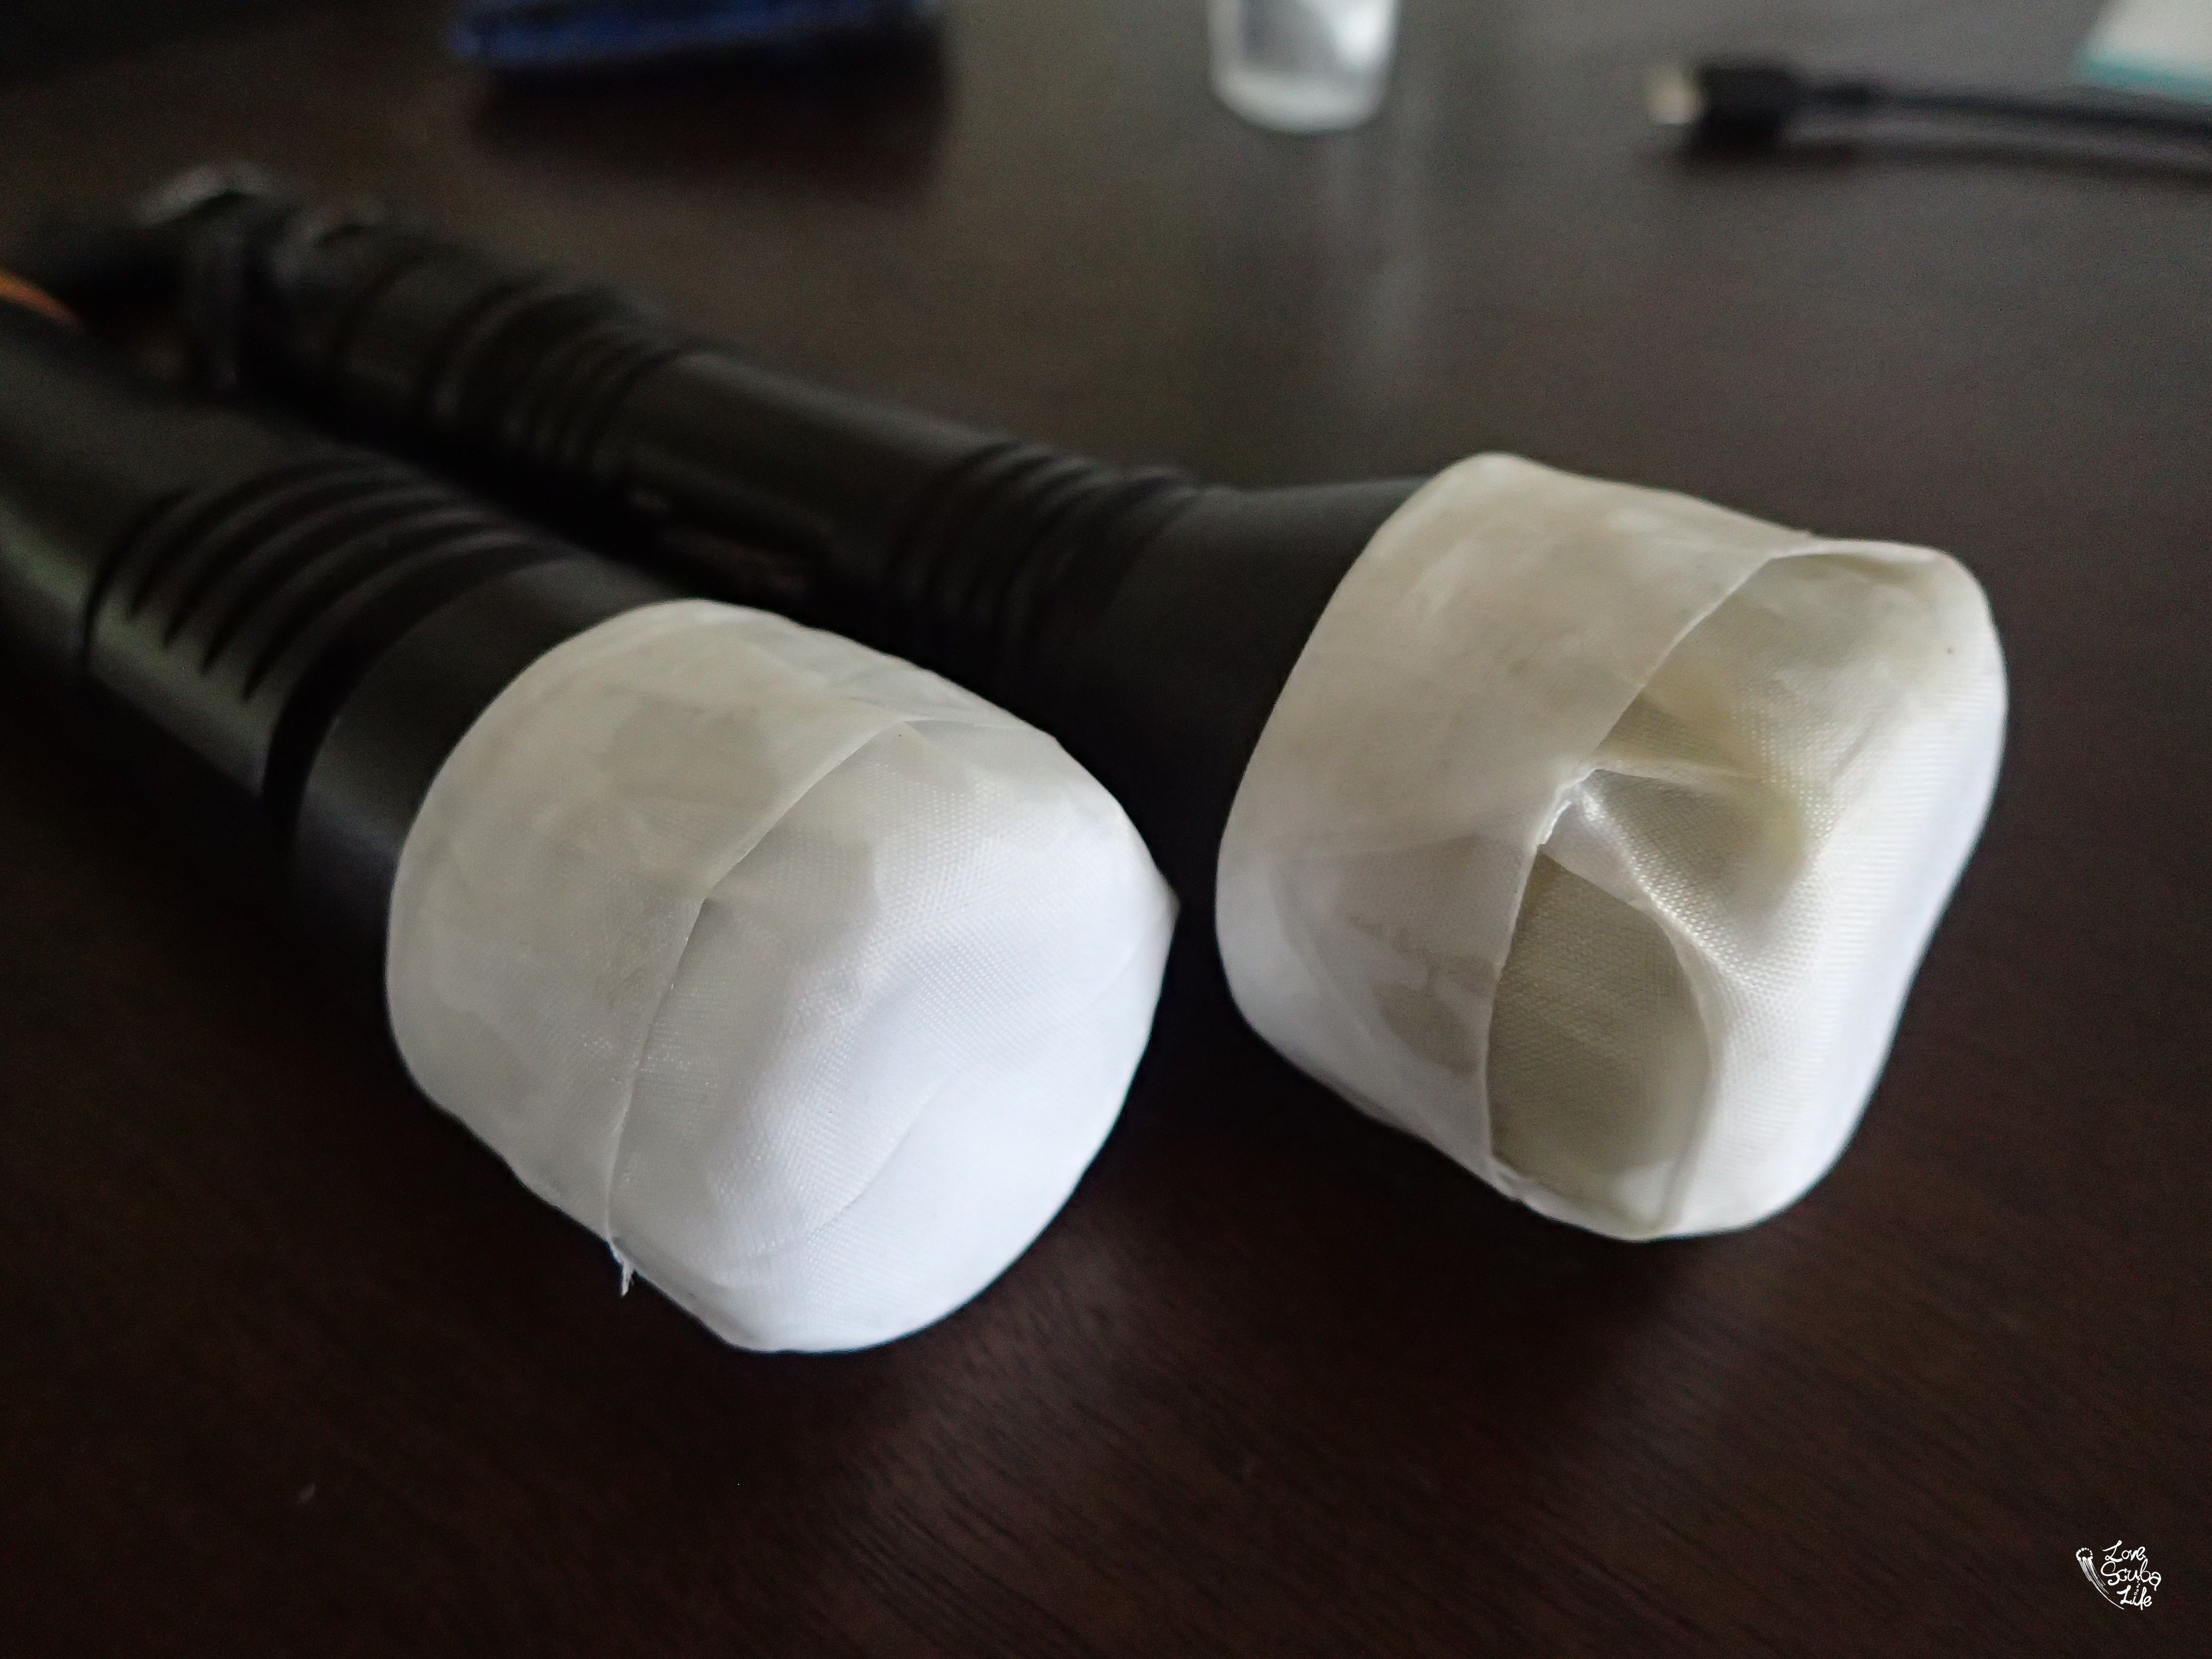

It would not look prefect like something you buy out there. If you still think that is something you would want to try. Below is the guide for you!
Time needed:
20 minutes or less work time and 48 hours of waiting time
Material needed (pictures shown below):
1. Flashlight (of course)
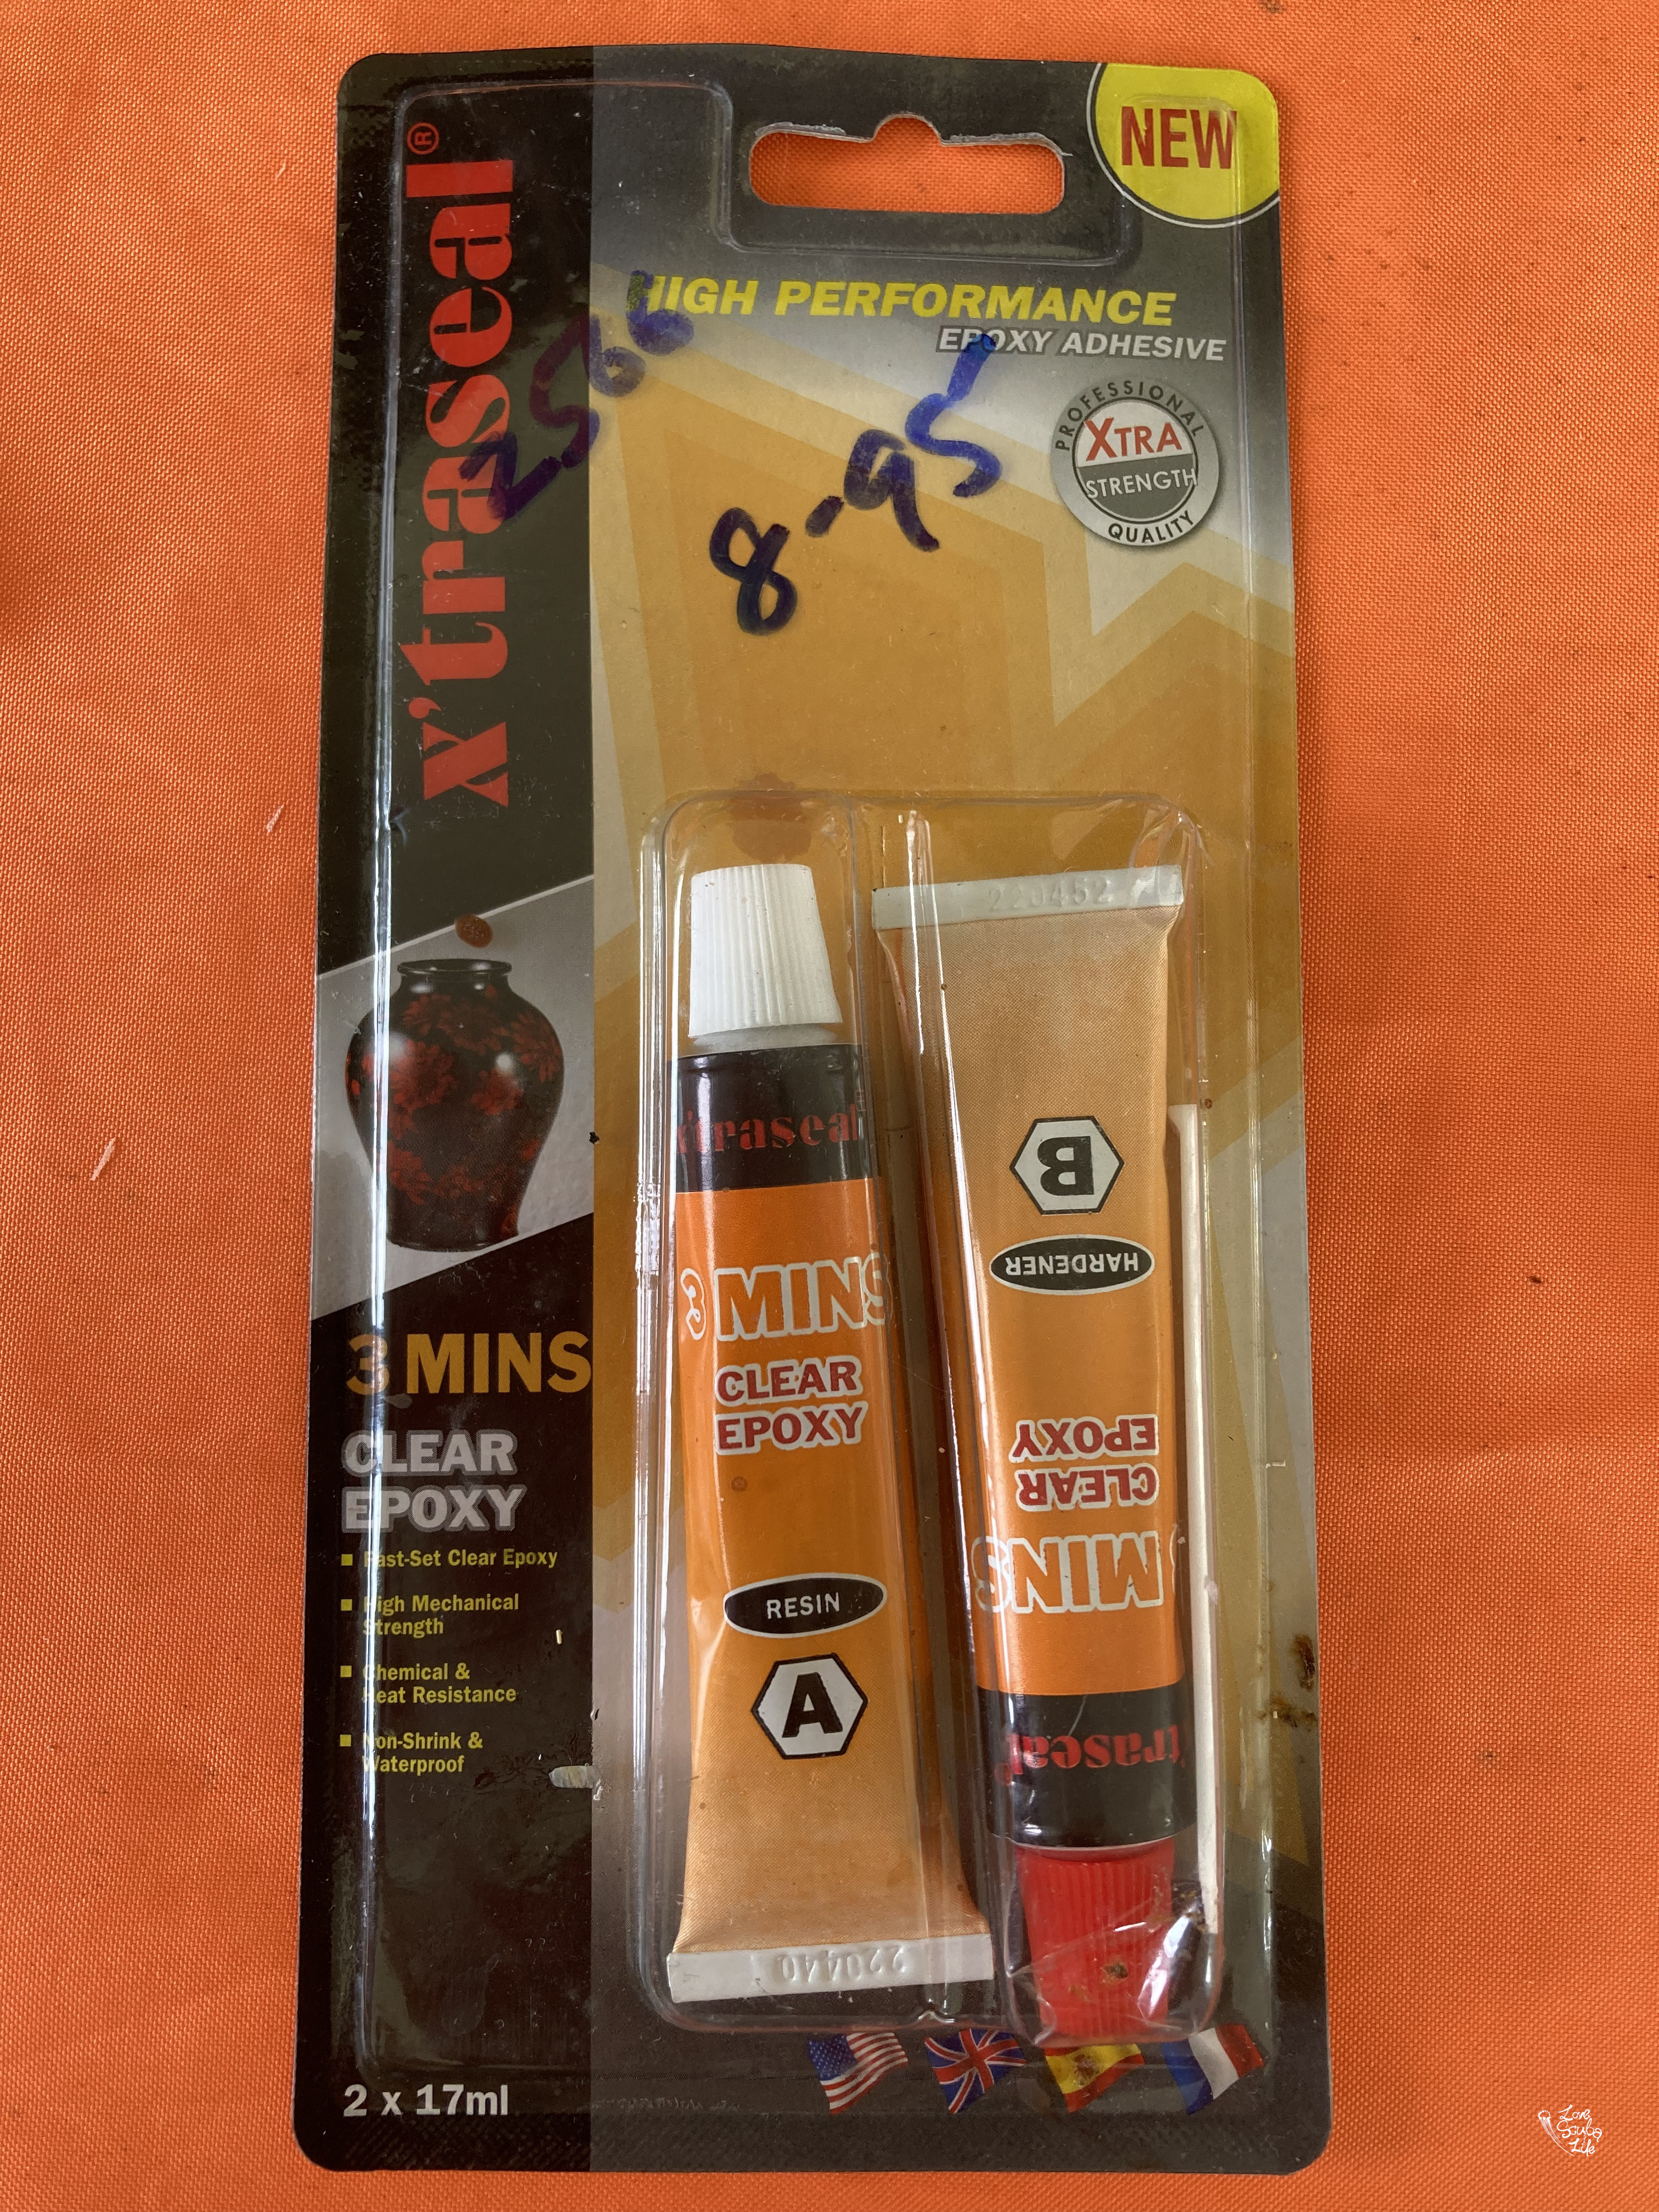
2. Clear Epoxy (a kind of glue)
3. Diffusion Fabric
4. Mould (Free, you will need something that has exact same dimension as your flashlight shining side, I will elaborate more below)
5. Rubble bands/ Hair bands (Free most likely)
6. Scissors (Free most likely)
7. Work surface - any waste that is flat and hard (prepared to be ruined) eg. Cardboard
8. Hand glove if you do not want glue on your hand
You would able get item 2. and 3. from Amazon.
Steps:
ONE.
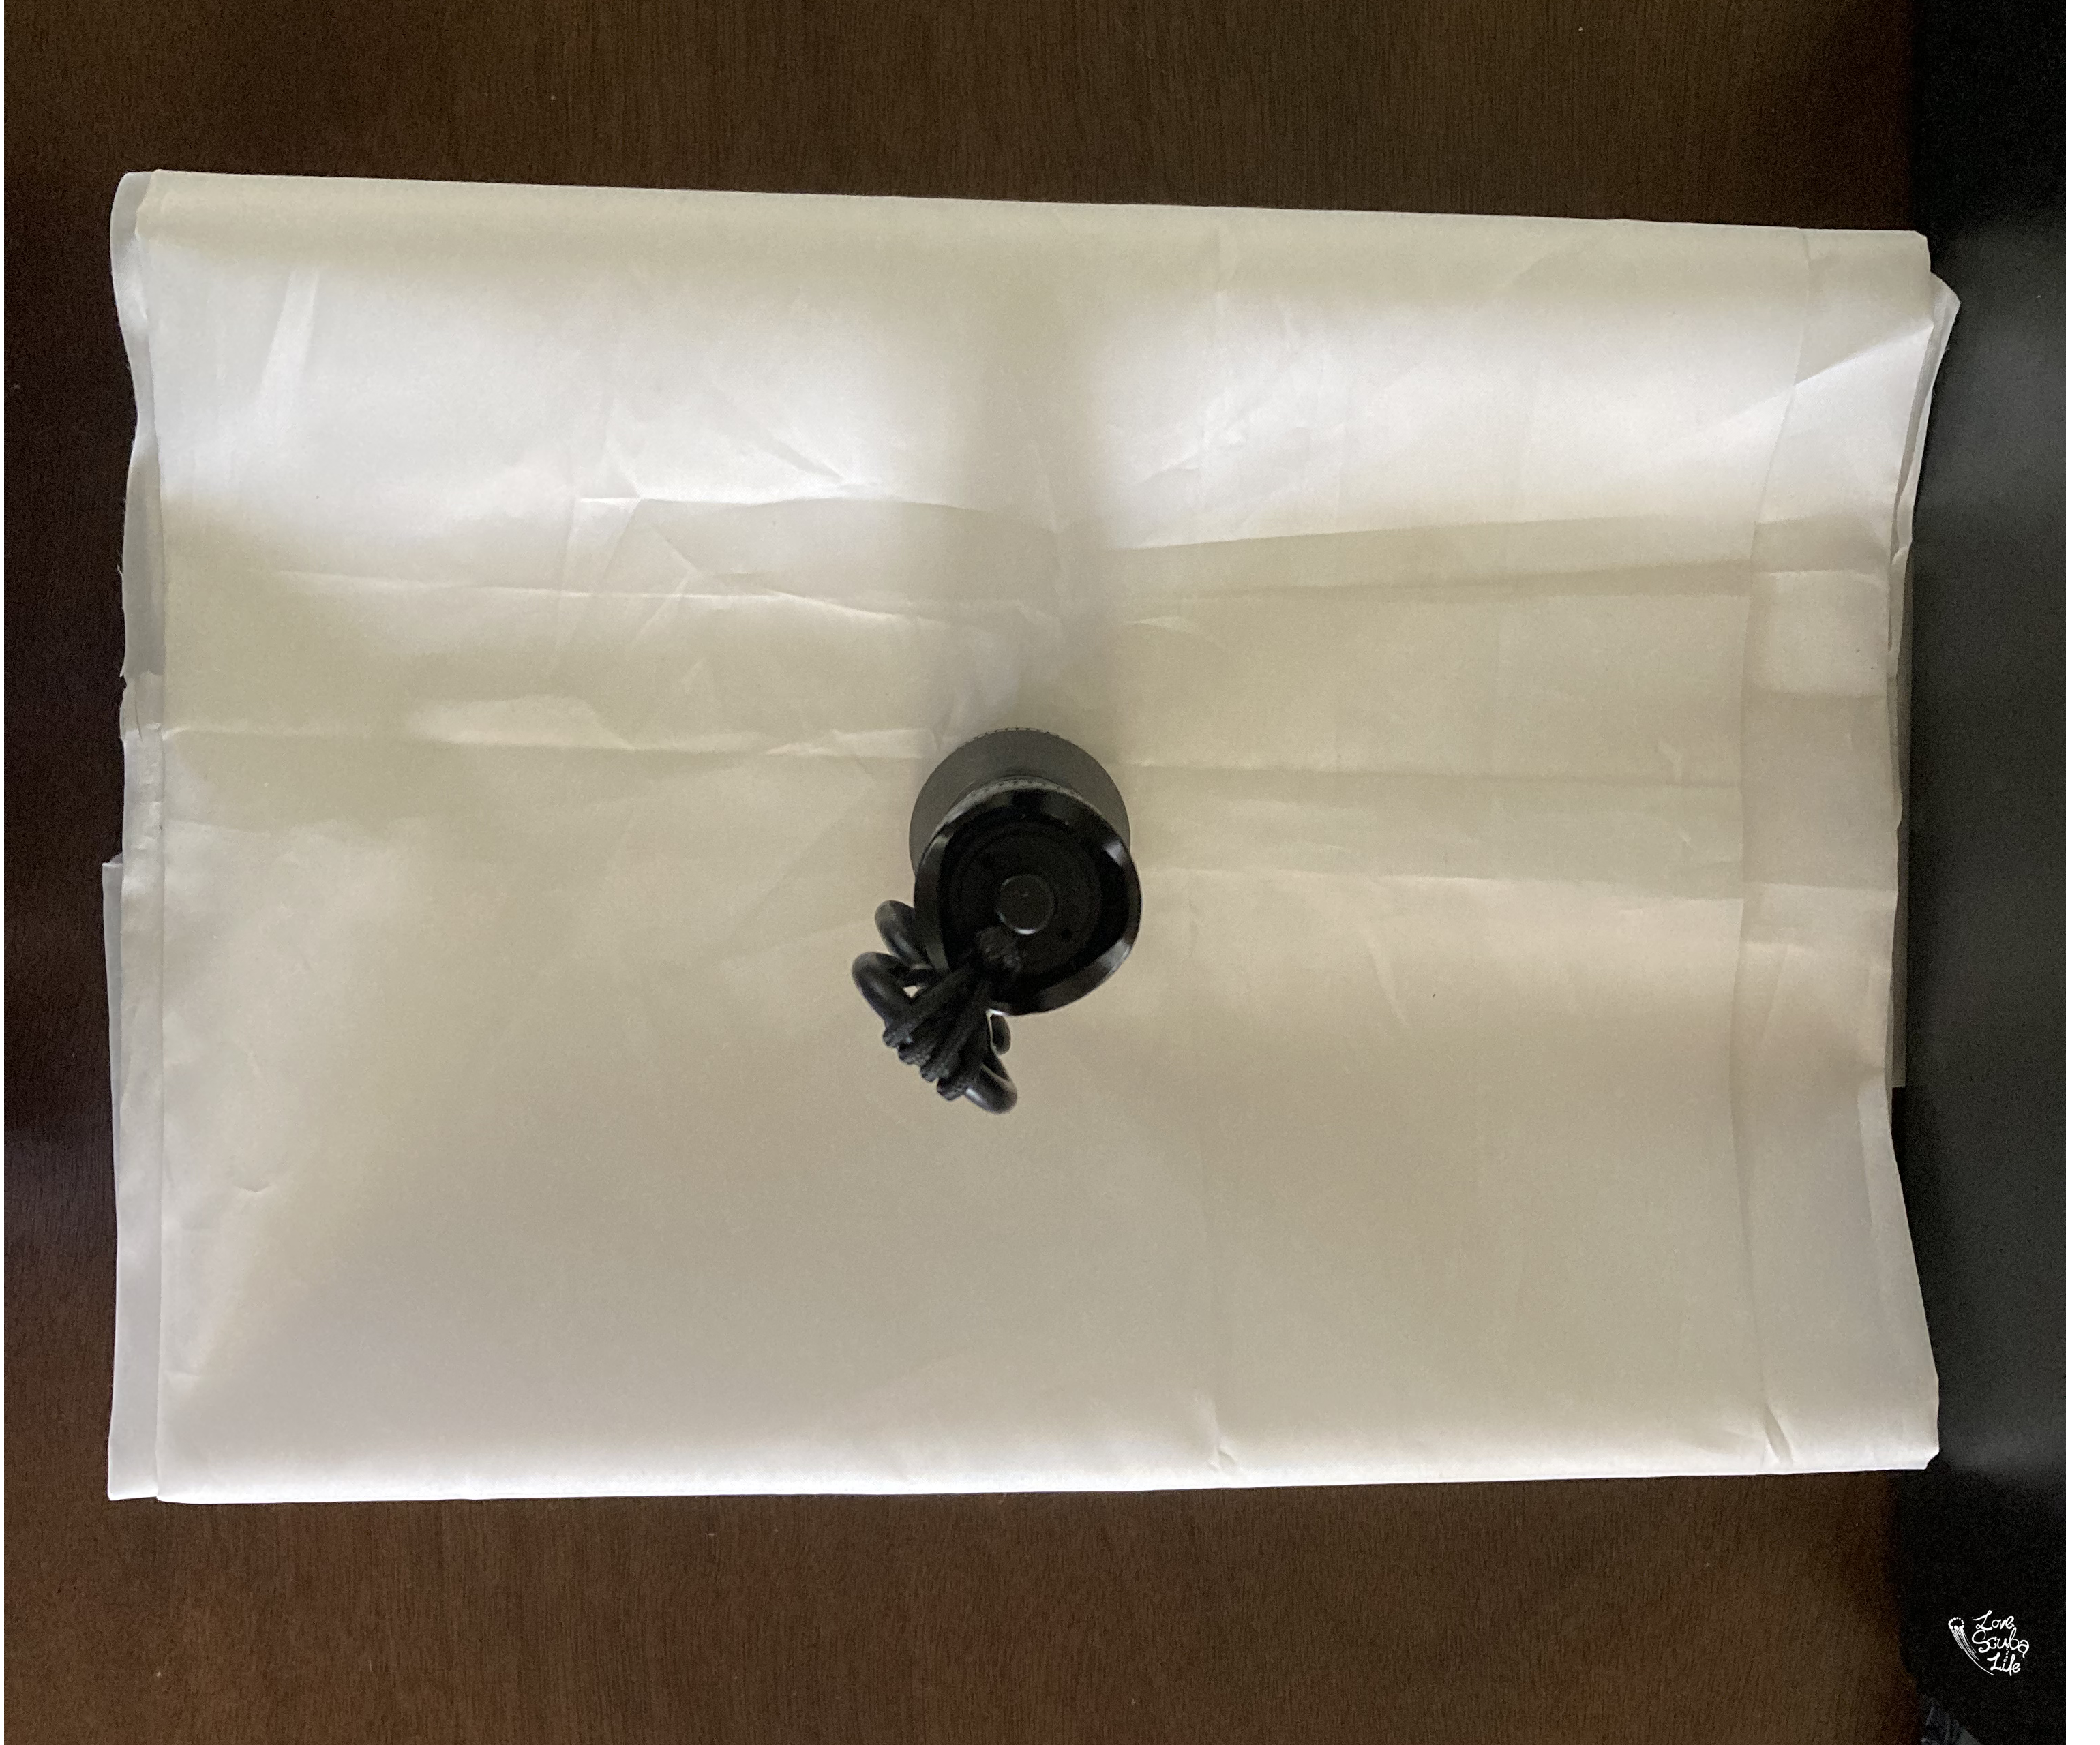
You would need to find a mould (item 4) that match exact the same dimension as your flashlight shining side.
It can be anything, start looking your cooking ingredient in bottle or any container or skin care container. Matching exact same dimension is very important, no bigger, no smaller, because our final product need to be fit on the flashlight.
TWO.
Cut three pieces of diffusion fabric (item 3) in a square size which allow you to be able to wrap around the mould using a rubble band (like below picture in Step THREE).
The finished product would be three layers of diffusion fabric, I personally think using three layers is the best, there would be no hot spot and it is still bright. You can decide it yourself how many layers you want.
THREE.
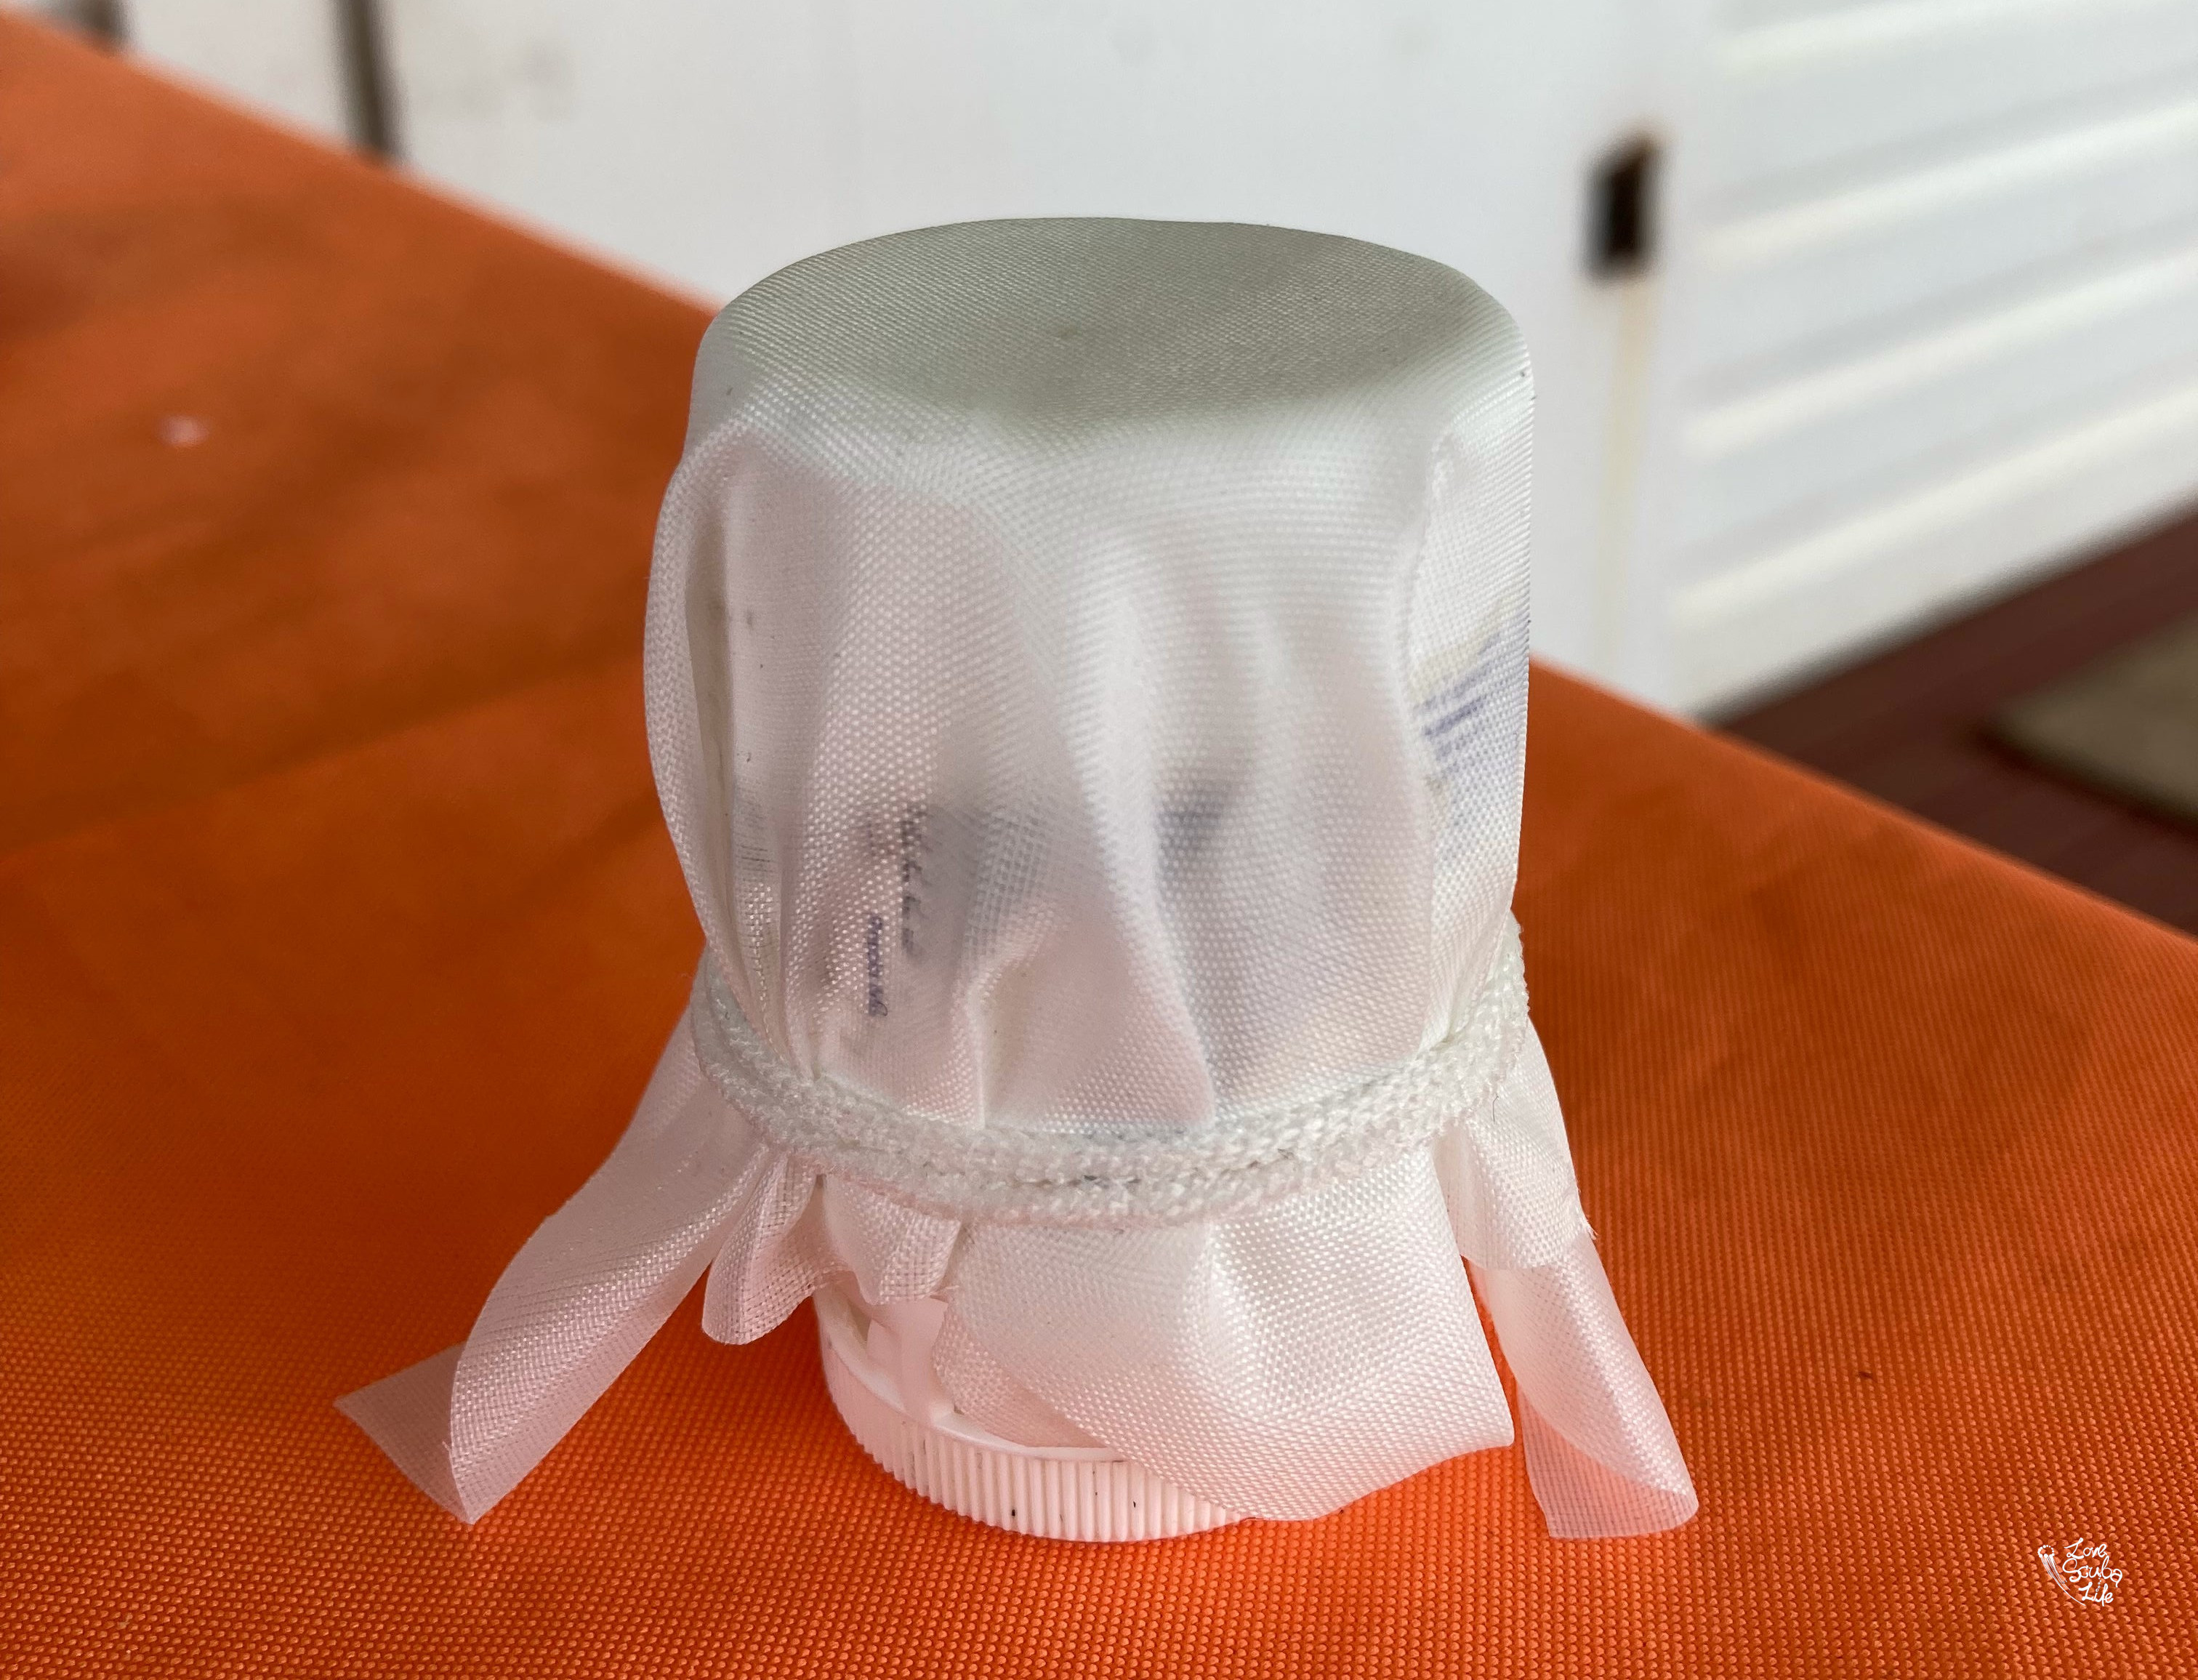
Put the first layer of diffusion fabric on the mould and use rubble band to make sure the fabric sit tight on the mould.
FORTH.
Start glue the diffusion fabric layer by layer.
(Tip: Use a hand glove if you want to avoid glue on your hand)
- Mix the clear epoxy (Item 2) according to the product instruction on the work surface
- Spread the clear epoxy mixture on the area above the rubble band, just on the side around the mould, do not spread any on the top
- Put the second layer of diffusion fabric immediately on top and wrap around the mould like Step THREE and use another rubble band to hold the fabric and make sure the second layer of fabric sit tightly on the mould
(Tip: the rubble band need to be tight and pull down the fabric underneath the rubble band.)
- Repeat the above for the third layer
FIFTH.
Wait for 24 hours for drying or follow the drying instruction according to your Clear Epoxy instruction
SIXTH.
After drying, the fabric should be hardened, but it would not be completely hard.
Remove the fabric piece from the mould and remove all the rubble bands.
(The rubble bands may got stuck with the glue, use some force to remove it.)
SEVENTH.
Trim the bottom and make it flatten. Then you can try it on your flashlight to check the size.


EIGHTH.
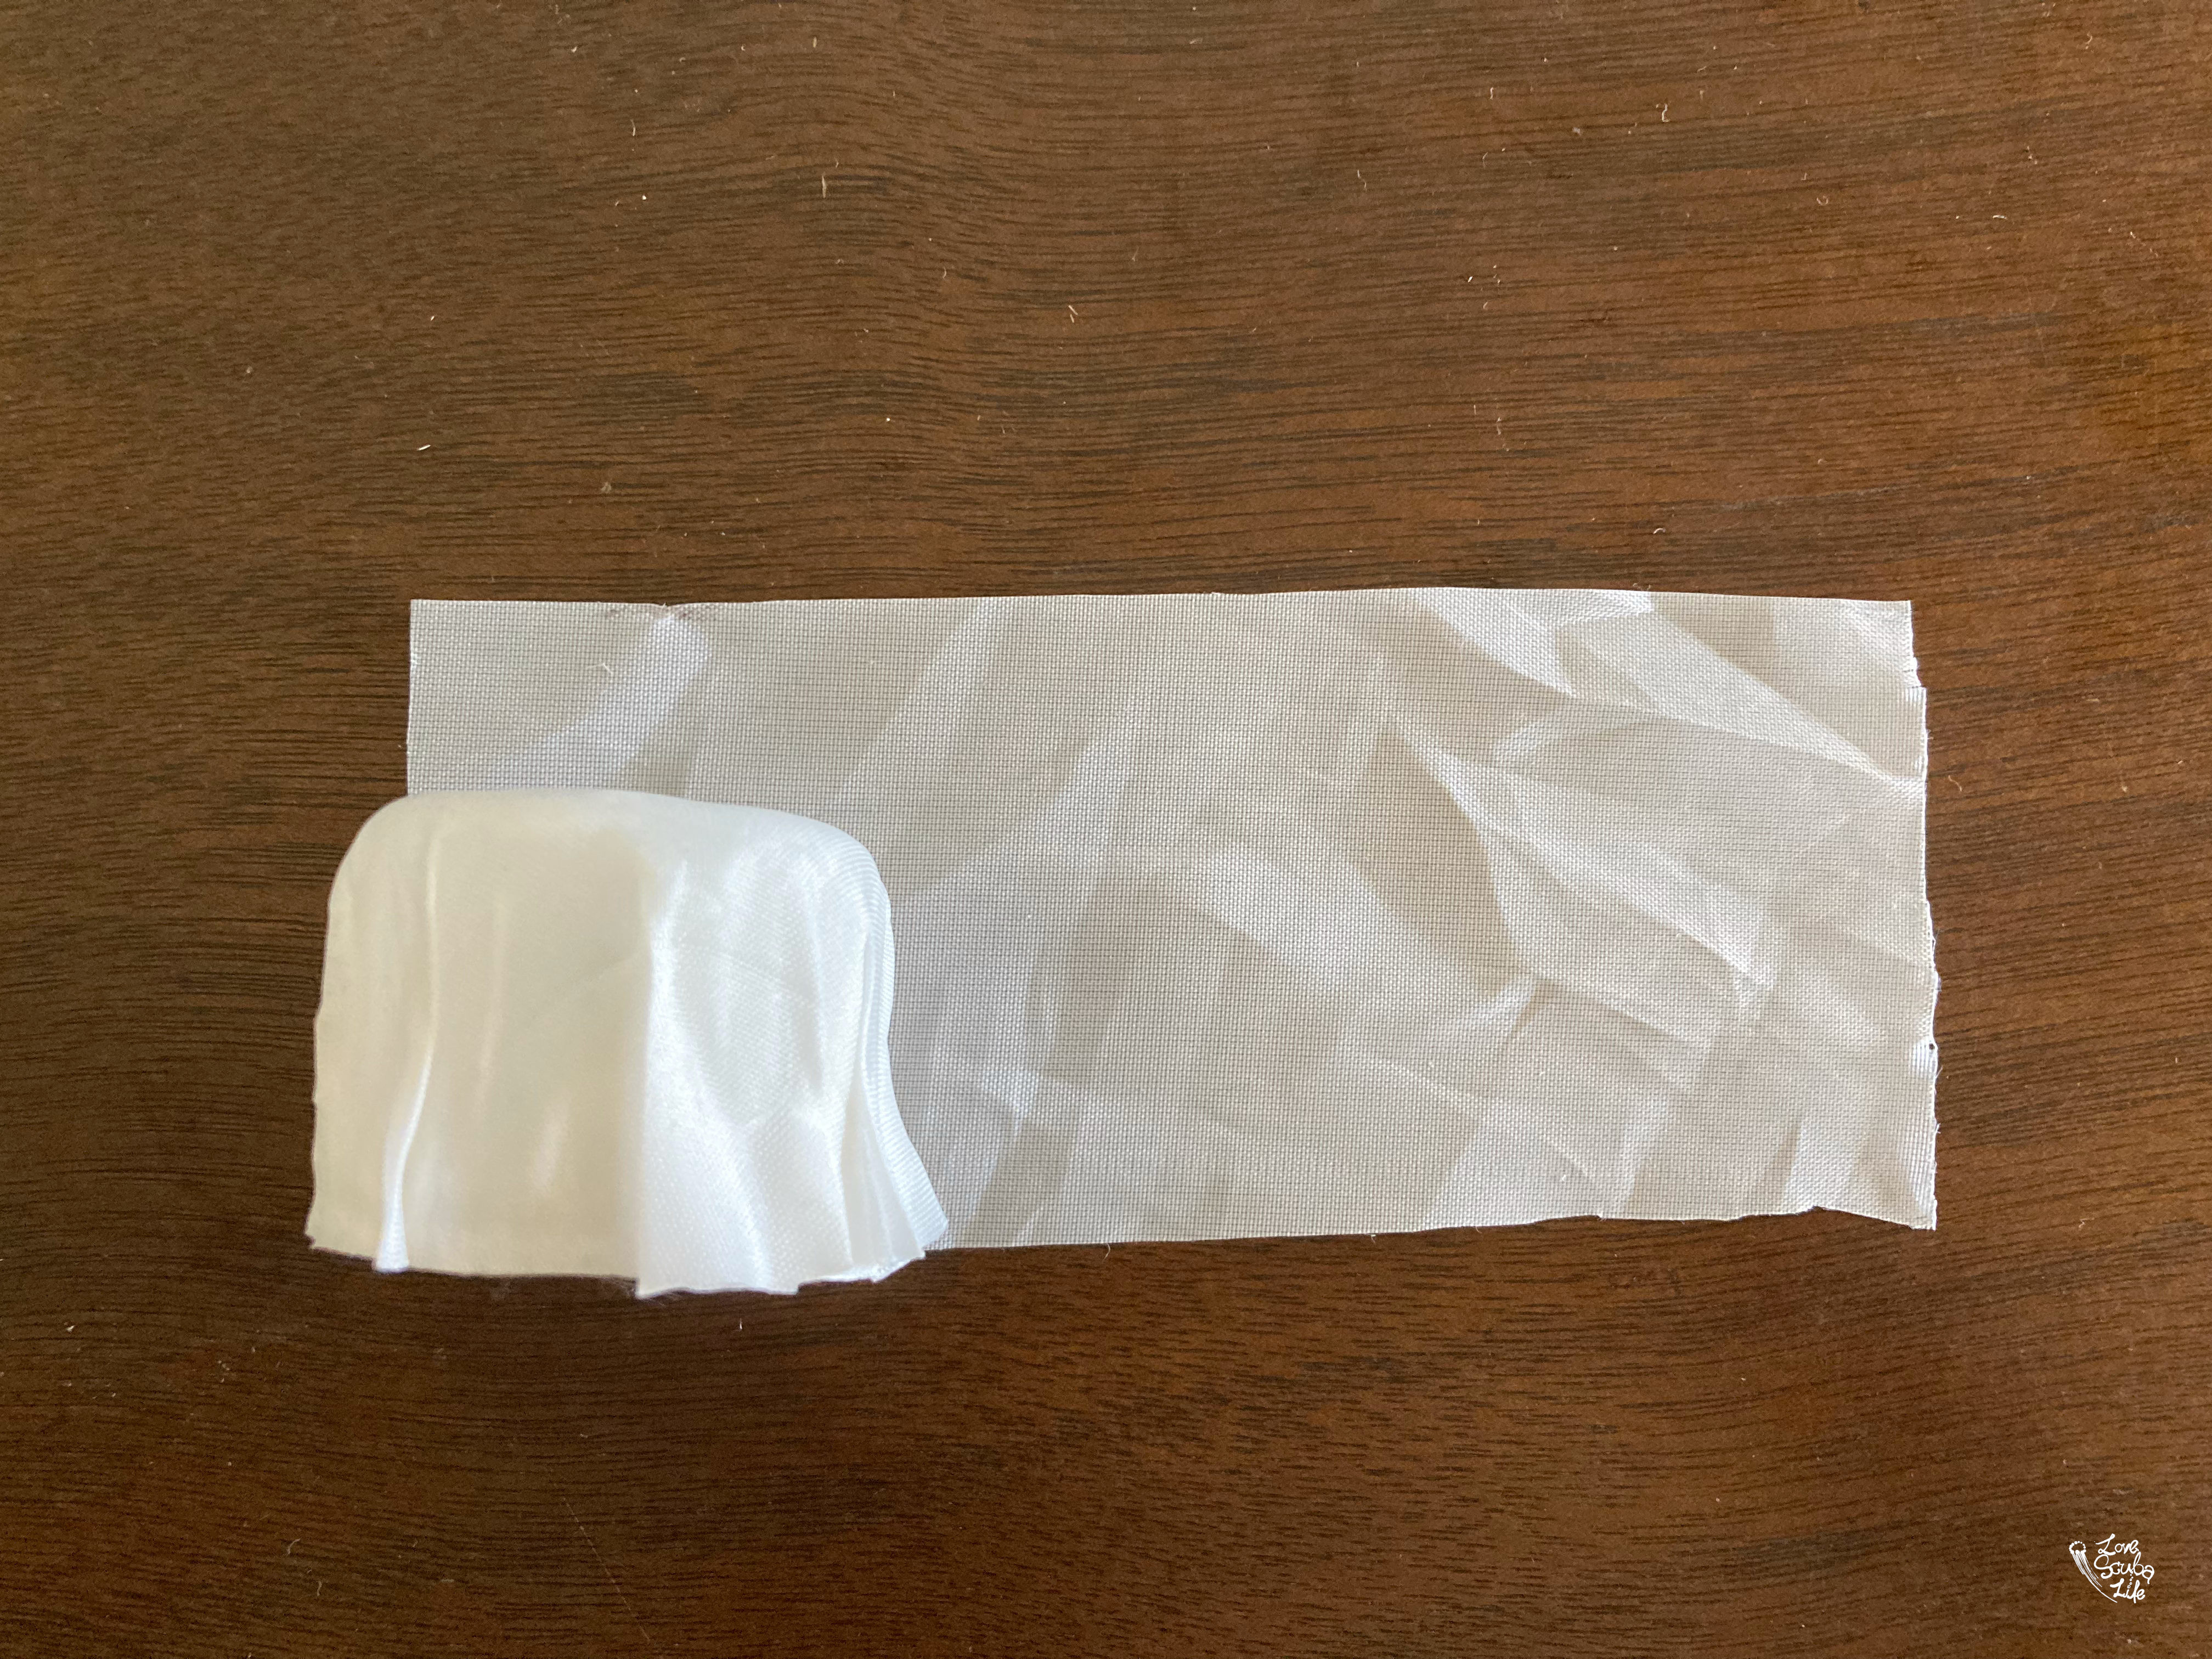
To make the bottom nicer and prevent tear. Add a layer of fabric to wrap the skirt at the edge.
Cut a fabric with the length of circumference long and ~1.5 time of the high of the cylinder as below.
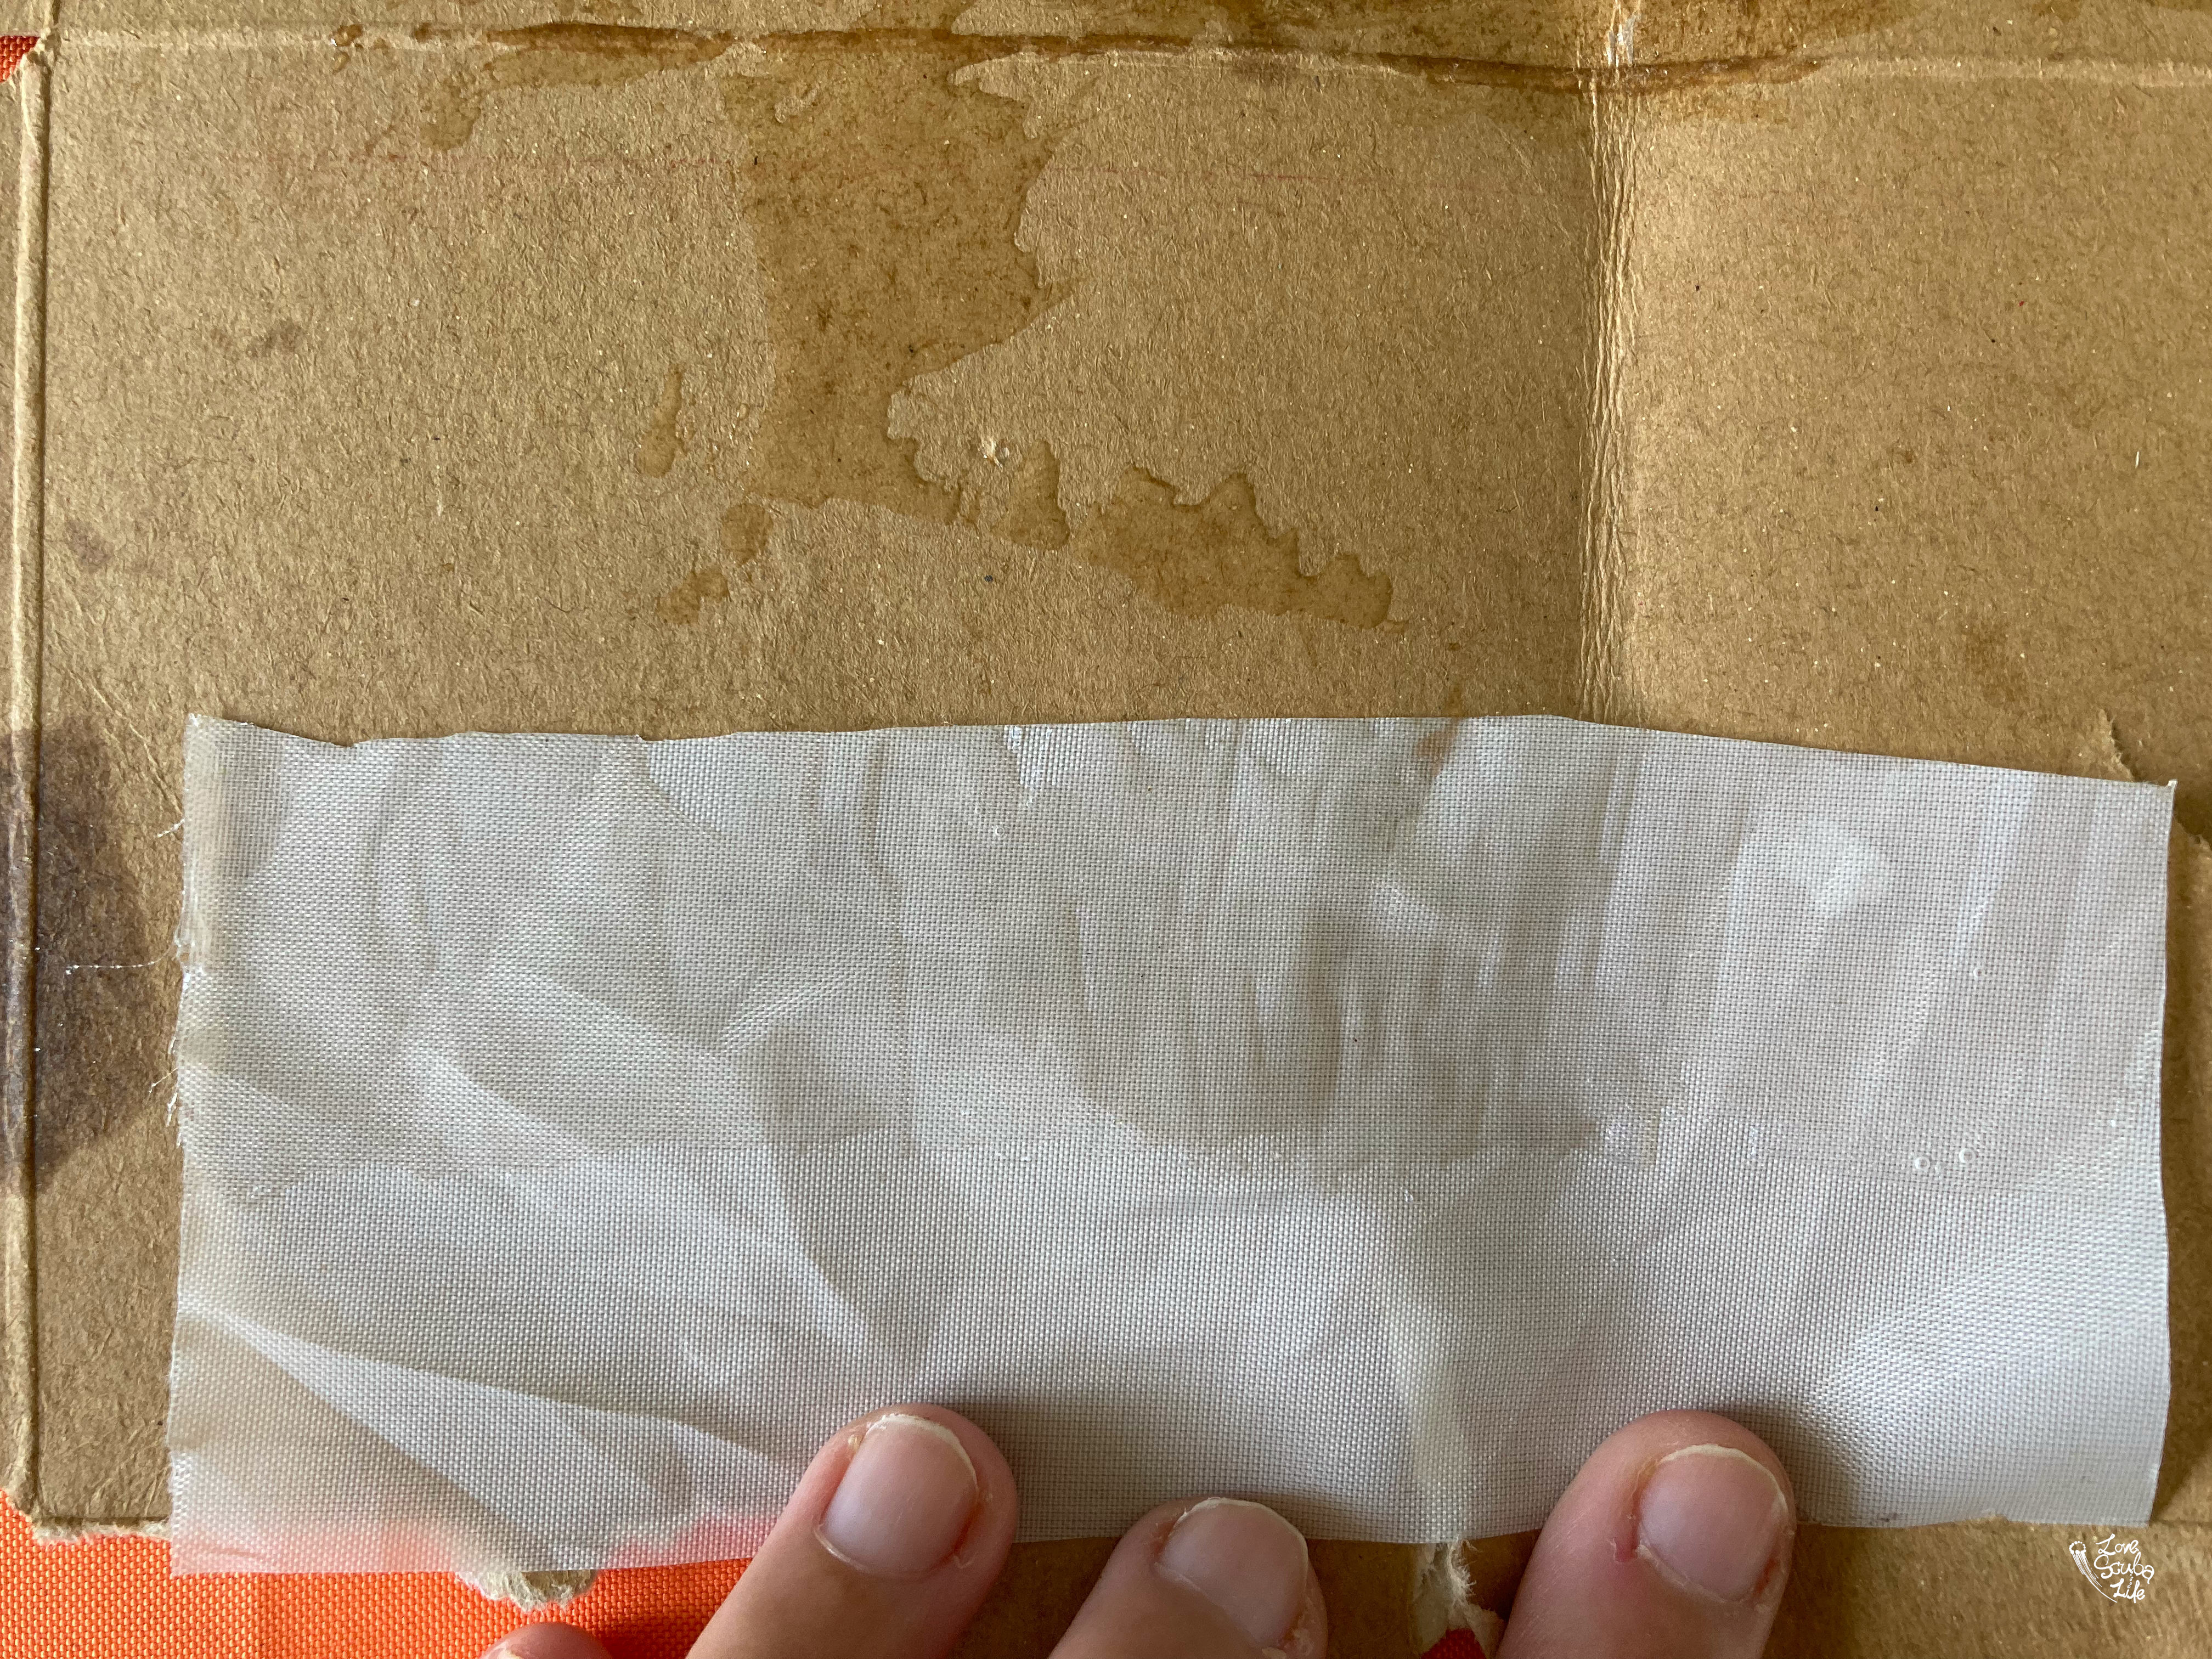
Glue the layer of fabric on the Fabric Piece.
Tip is to put the glue on the half of the fabric and then immediately insert into the Fabric Piece. Make sure the fabric stick probably with the inner of Fabric Piece.
Wait for 10 minutes for the holding.
Then put the glue of the rest half and fold it down to cover the skirt.
(Tip: pressing the fabric piece to ensure the fabric is probably glue on the piece.)
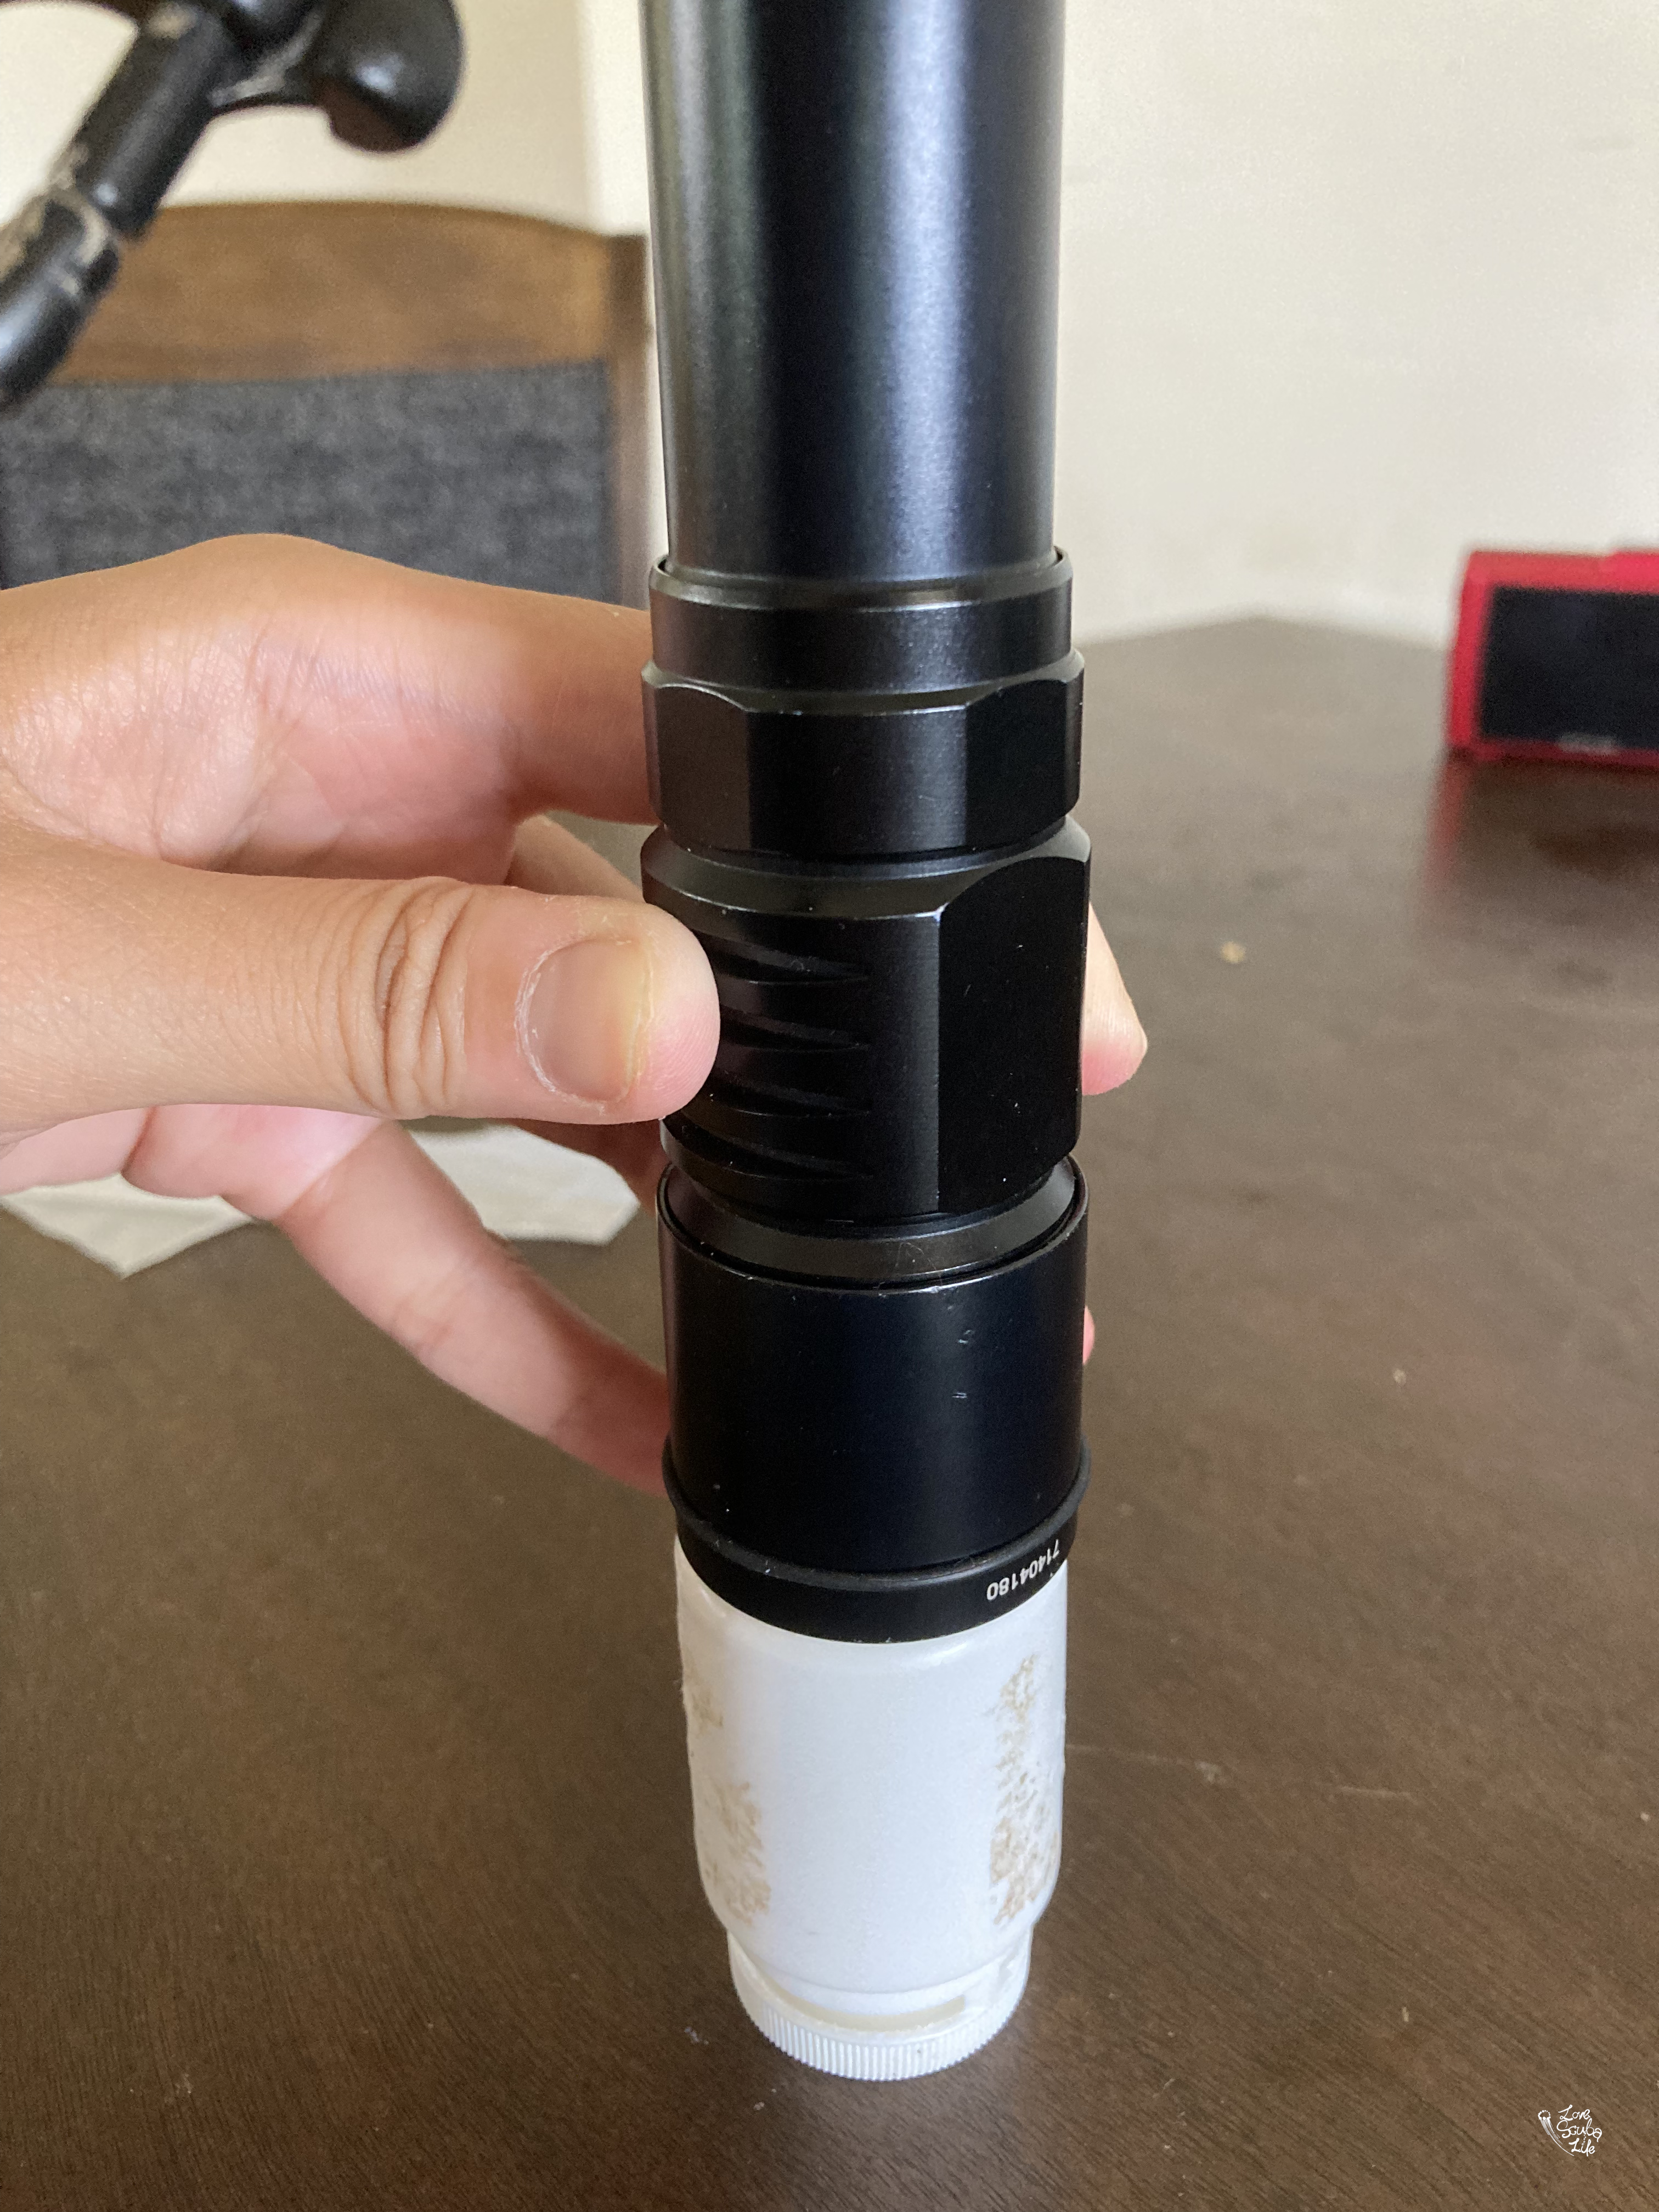
Now the work is done. All you need is wait for 24 hours for drying or follow the drying instruction according to your Clear Epoxy instruction. And this is your final product.
The diffuser should be sitting quite tight on the flashlight. If you afraid to lose it, normally there is a indentation at the flashlight head, you can put a o-ring there to ensure the diffuser will not slide away.
Other note for reference:
I tried other marine epoxy in grey colour, the result is not as good. The final product would be in grey and it is quite hard not that flexible.
Hope it is helpful and Enjoy!